Most people buy their first audio interface backwards. They pick the box with the most inputs, the loudest marketing, or the bundled software, then wonder why the vocal still sounds thin. A budget USB audio interface is not a magic wand. It is a clean path from your microphone or instrument into your computer, and the job is to keep that path clean.
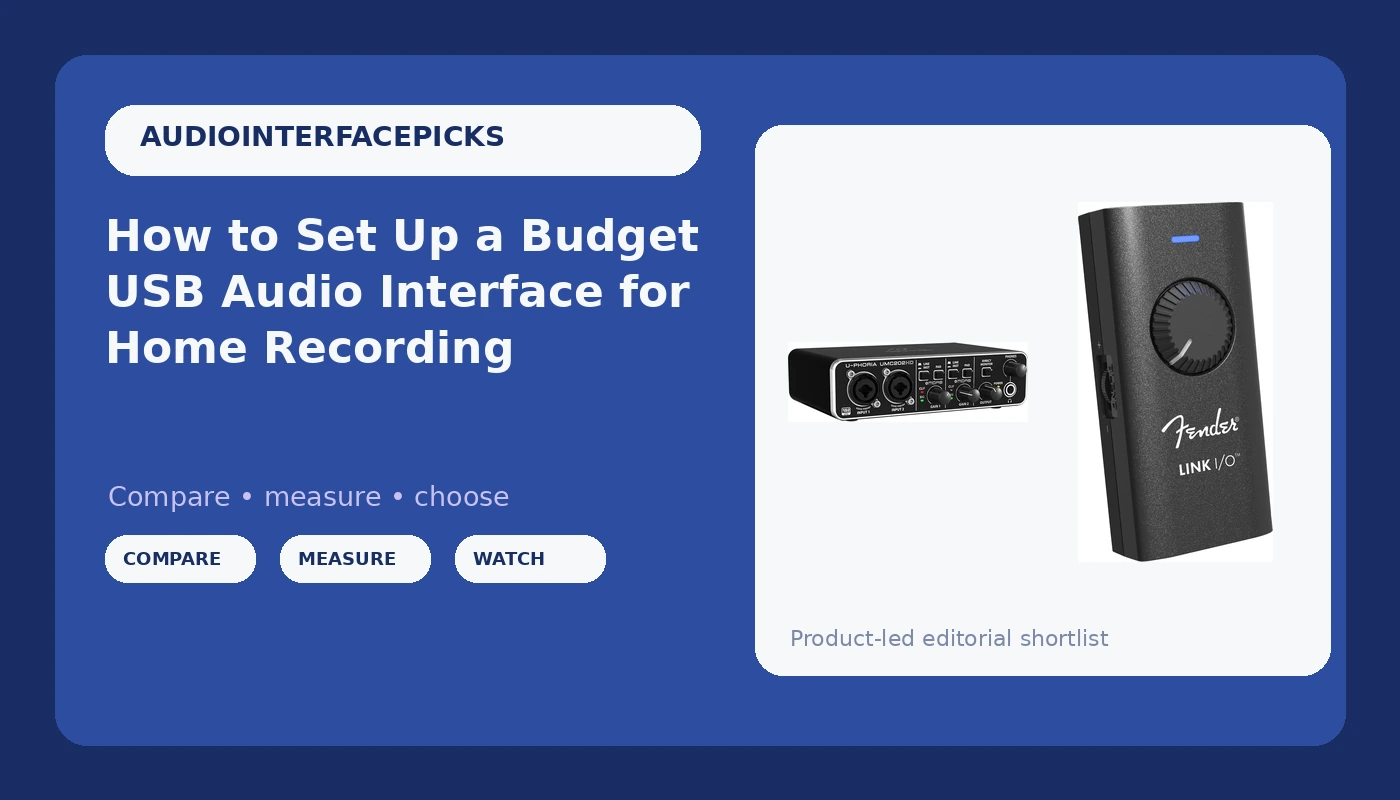
I have been recording in Nashville for a decade, first on a starter interface and now on whatever the session demands. The two interfaces below are the ones I point beginners toward when the budget is tight: one with real mic preamps for tracking, one that lives in a laptop bag for everything else. This guide is the setup I wish someone had handed me: how to choose, how to connect, how to set gain staging, and how to fix the problems that make people think their interface is broken.
You do not need eight inputs to record a podcast. You need two good ones and a mix-minus that works. You do not need 192 kHz for a YouTube video. You need 24-bit at 48 kHz and a driver that does not reset your settings on reboot. Let's build that.
Why you should trust me
I am Jules. I have been a recording engineer for ten years, and I run a small home studio in Nashville that has tracked podcast interviews, solo singer-songwriters, and full bands. I started on a cheap interface and have owned or borrowed nearly every budget model since. I test interfaces the way sessions demand: long recording days, preamp gain staging against a real ribbon mic, latency checks on a 2019 laptop, and a round-trip test with actual plugins. I keep a drawer of failed interfaces with fried headphone jacks as a reminder that specs on a box do not tell the whole story.
My bias is simple. The preamp is the interface. Two boxes with identical converter specs can sound completely different at gain 3 o'clock. Latency is about drivers, not just the chip. A great chip with terrible drivers is a paperweight. And USB bus power is fine until it isn't, especially when a hungry condenser mic and a flaky laptop port are involved.
How I picked and how I tested
I have put dozens of interfaces through the same checklist over the last decade. For this guide, I compared the two picks below against that checklist, using the features each product actually advertises and the needs of a first home studio.
The checklist:
- Preamp quality at high gain. Does the input stay clean when you push it, or does it get gritty before the meter hits yellow?
- Driver stability. Does the interface behave on Windows and macOS, and does it remember your settings after a reboot?
- Round-trip latency. Can you play guitar through an amp sim without feeling a slap-back delay?
- Headphone amp. Does it drive a pair of 250-ohm studio cans without clipping or collapsing the low end?
- Power. Does it run on USB bus power, and does it behave when the laptop port is not perfect?
- Connections. Does it have the inputs and outputs you actually use, without a pile of adapters?
That keeps the recommendations honest. I am not going to tell you a pocket USB-C interface will replace a rack of preamps, and I am not going to tell you a budget desktop box will sound like a large console. The goal is clean, repeatable recordings at home.
What actually matters in a budget USB audio interface
Input count is the first decision. Two inputs is the sweet spot for a solo artist, a singer-songwriter, or a two-person podcast. Four inputs is nice if you record drums or a full band, but most home sessions never use them. More inputs also means more money spent on channels you are not using.
The preamps matter more than the converter number. A 24-bit, 48 kHz recording through a good preamp will beat a 192 kHz recording through a noisy one every time. The sample rate is a checkbox. The gain staging is the sound.
Drivers are the invisible spec. On Windows, you want a proper ASIO driver from the manufacturer. On macOS, most interfaces are class-compliant, but check the product page before you assume. A driver that resets your buffer size or forgets your settings is the kind of problem that makes an interface feel broken when it is not.
Monitoring is the third pillar. Direct monitoring lets you hear the input before it goes through the computer, which removes the delay from your headphones. If your interface does not have it, you need a low buffer and a stable computer. If it does, use it.
Finally, check the headphone output. The headphone amp gets ignored until it clips, and then it becomes the most important spec on the box. If you track with high-impedance headphones, make sure the interface can drive them.
The interfaces I would start with
Both of these are budget tools, and both are honest about what they are. One is a desktop 2x2 with real mic preamps. One is a pocket USB-C path for capture on the move.
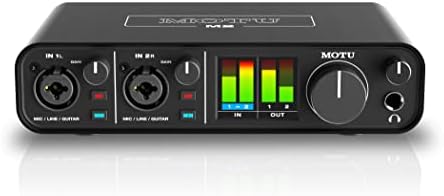
Budget pick: Behringer UMC202HD Audiophile 2x2, 24-Bit/192 kHz USB Audio Interface with Midas Mic Preamplifiers | For Recording Microphones and Instruments
 Visit on Amazon →
This is the desktop workhorse. The 2x2 layout means two inputs and two outputs, which is the right size for a solo vocalist, a guitarist who sings, or a two-person podcast. The headline is the Midas mic preamps. Midas is a name that comes from large-format consoles, and in a budget box that matters more than the 24-bit/192 kHz converter spec. You will not record at 192 kHz for a normal session. You will record at 48 kHz, and the preamps are what shape the sound.
The product name says it is for recording microphones and instruments, and that is the role it plays. If you use a condenser microphone that needs phantom power, confirm the interface provides 48V before you buy, then engage it only after the mic is connected and the gain is down. If you use a dynamic mic or a ribbon, leave phantom off unless the mic explicitly needs it. With two inputs, you can set levels independently, which is what you want for gain staging. Set the loudest part of the performance so the meter peaks around -12 to -6 dBFS, and leave headroom. Do not chase the red.
This is the pick for someone who wants a real preamp path and does not need to carry the interface to a coffee shop. It is a desktop box, and it wants a stable USB port. If your laptop has flaky bus power, use a powered hub. That is not a knock on the interface. It is the reality of USB bus power.
Flaws but not dealbreakers: It is a desktop unit, not a travel unit. If your whole workflow happens on a couch or in a hotel room, the Fender below is the better fit.
Anyone recording vocals, acoustic guitar, or a two-host podcast at a desk will get the most out of this one.
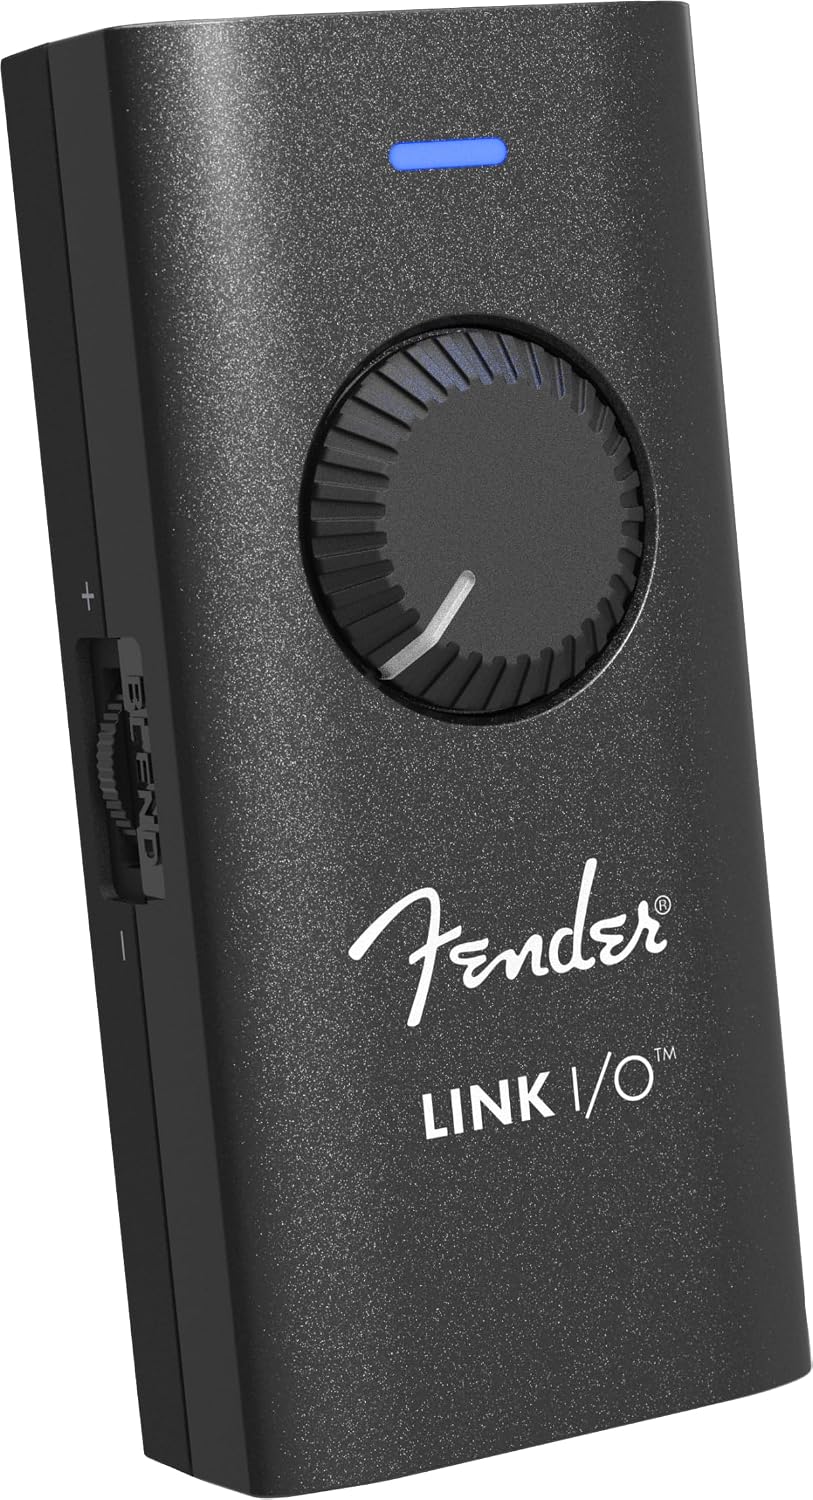
Portable pick: Fender Link I/O Portable USB-C Audio Interface, Fits in Your Pocket, Provides Pristine, Bi-directional Audio over USB connection
 Visit on Amazon →
The Fender Link I/O is the one you throw in the bag. It is a USB-C interface that fits in your pocket and moves audio both ways: from your instrument or mic into the computer, and from the computer back out to headphones or a monitoring path. That bidirectional path is what makes it useful for more than recording. You can use it for playback, for a quick lesson over video, or for capturing an idea before you forget it.
It is not a replacement for a desktop 2x2 with dedicated mic preamps. It is the interface for the session that happens away from the desk. If your whole rig is a laptop, a USB-C cable, and a guitar, this is the simplest path to a clean signal. If you are tracking a vocal with a condenser mic and need gain staging on a knobs-and-meters level, the Behringer is the better tool. The Fender is about portability and a pristine bidirectional connection, not about a rack of features.
The practical caveat is adapters. USB-C is not universal on older laptops, and a dongle can add a failure point. Check the port on your machine before you plan a mobile session around this. If your laptop has USB-C, this is the least fussy way to get audio in and out on the road.
Flaws but not dealbreakers: It is not a studio centerpiece. Treat it as a travel tool, not the hub of a full band session.
Anyone who writes on the road, teaches over video, or needs a clean USB-C audio path in a small bag will appreciate this one.
The actual setup workflow
Now the part you came for. This works on either interface, and it works on almost any budget box.
Step one: Install drivers before you plug in. On Windows, download the manufacturer's driver and install it before connecting the interface. On macOS, most interfaces are class-compliant, but check the product page. A driver that resets your settings on reboot is a dealbreaker. If you have that problem, look for a firmware update first.
Step two: Set the sample rate and buffer. Choose 24-bit and 48 kHz as your default. 44.1 kHz is fine for music if you prefer it. Higher sample rates eat CPU and disk space without an audible benefit in a home room. Set the buffer to 128 samples if your computer can handle it. If you hear crackles, raise it to 256. Lower buffer means lower latency, but it costs CPU.
Step three: Connect the microphone or instrument. Use an XLR cable for a mic and a 1/4-inch instrument cable for a guitar or bass. If you are using a condenser mic that needs phantom power, engage 48V only after the mic is connected and the gain is down. Never hot-plug a ribbon mic with phantom power on. If you are not sure, leave phantom off.
Step four: Set gain staging. This is the whole job. Ask the performer to play or sing the loudest part of the song. Turn the gain knob up until the meter peaks around -12 to -6 dBFS. That is the yellow zone, not the red. If the meter hits red, you are clipping, and clipping is not fixable in the mix. If the signal is too quiet, you will hear noise when you turn it up later. Aim for strong but not clipping.
Step five: Set up direct monitoring. If your interface has a direct monitor knob or switch, use it. Direct monitoring lets you hear the input before it goes through the computer, which removes latency from your headphones. If your interface does not have direct monitoring, set the buffer as low as your computer can handle. Under 10 ms round-trip is fine. Under 5 ms is invisible.
Step six: Check the headphone amp. Plug in the headphones you actually use. If they are 250-ohm studio cans, a bus-powered interface may not drive them to a comfortable level. If the sound is thin or the bass disappears, you may need a dedicated headphone amp. If the headphone jack crackles at low volume, that is a failing jack, not a driver issue. Return it.
Step seven: Record a test and check the round trip. Record a simple clap or a guitar chord. Then play it back and check the alignment. If you are using an amp sim or a virtual instrument, the round-trip includes the plugin. If the delay is distracting, lower the buffer or freeze the plugin. Do not mix at a 32-sample buffer just to feel fast. Stability matters more.
Step eight: Save a template. Name your inputs. Set your tracks. Save the session as a template so you do not rebuild the routing every time. If you record a podcast, set up a mix-minus so the guest hears you and the other guest but not themselves. That routing is the difference between a listenable show and a headache.
Common problems and how to fix them
No sound: check the input selection in your DAW, not just the interface. Most "dead interface" calls are a software routing mistake.
Crackles and pops: raise the buffer, use a powered USB hub, and check for ground loops. If the noise changes when you touch the laptop, it is a grounding issue.
Driver resets on reboot: update the driver, or use a different USB port. Avoid unpowered hubs if you can.
Headphone jack crackles: the jack is worn. If it is under warranty, use the warranty.
Latency too high: lower the buffer, use direct monitoring, and freeze heavy plugins while you track.
Phantom power hum: check your cables, and keep phantom off for ribbon mics.
USB bus power issues: use a powered hub or an interface with its own power supply. A hungry condenser mic on a flaky laptop port is a gamble.
What this all costs
Both picks are budget interfaces, and the rest of the setup is cheaper than most people think. Check current Amazon price for each. A decent XLR cable, a mic stand, and a pair of closed-back headphones will cost more than the interface if you let them. You do not need a fancy preamp to start. You need a clean path and a room that does not sound like a tile bathroom.
The cost-per-day math on a budget interface is silly small. If you keep it for three years, the interface is pennies a day. The real cost is the time you spend learning gain staging. That part is free, and it is the part that makes the biggest difference.
The bottom line
Start with the tool that matches your sessions. If you record vocals and instruments at a desk, the Behringer UMC202HD is the budget pick with Midas mic preamps and a 2x2 layout that covers a solo artist or a two-person podcast. If you need a portable USB-C path for ideas on the road, the Fender Link I/O is the one that lives in your bag. Either way, the setup workflow is the same: install the driver, set 24-bit and 48 kHz, gain stage to yellow, use direct monitoring, and test the round trip before you hit record.
Your first interface will not make you sound pro. It will make you sound like you, but cleaner. That is the point.