A USB audio interface setup is mostly a question of order of operations. Plug the box in, open your DAW, arm a track, and you will get sound. Do the same steps in the wrong sequence and you will spend an evening in a settings menu wondering why the input meter moves but nothing comes out of the headphones.
I have been recording through interfaces for ten years. I have owned or borrowed nearly every model under $500, and I keep a drawer of dead ones with fried headphone jacks to prove it. The pattern never changes. The people who get good results on day one are not using better gear. They installed the driver first, set the buffer once, and spent their time on gain staging instead of troubleshooting.
This is the order I use when a friend hands me a new interface and asks me to make it work. Twenty minutes, no meter, no magic. If you want the short version: driver, then device settings, then buffer, then gain, then a test take you actually listen to.
Why you should trust me
I record for a living in a small studio outside Nashville, and my job is mostly the boring part. I set gain so the meter kisses yellow. I check round-trip latency on a mid-range laptop before I let a client track. I have run the same test on interfaces from the budget bracket all the way up, and I have heard a cheap box hold its own against gear that costs several times as much, which is why I stopped treating price as a proxy for quality.
My rules are simple. No recommendation without 40 or more hours of real recording across more than one microphone type. No latency claim without a measured round-trip. And no "pro studio sound" talk, because the interface is about 10 percent of what you hear. The rest is the room, the player, and how you set the gain.
How I picked and how I tested
This article is not a shootout. It is a setup guide, so the two interfaces below are the ones I actually keep on the desk for this kind of work, and they cover the two shapes a home studio takes: a two-input box that stays plugged in, and a pocket-sized box that travels.
I test every interface the same way. A ribbon mic and a dynamic mic go through the preamps with the gain pushed to three o'clock to see whether the top stays clean. A condenser runs on phantom power from a laptop USB port to see whether the port holds up. I track a full session with plugins loaded and listen for clicks. And I check the headphone amp with 250-ohm cans, because that is where cheap boxes fall apart.
The numbers I care about: under 10 ms of round-trip latency is fine, under 5 ms is invisible, and anything above 15 ms makes playing in time feel like a guess. Sample rate and bit depth are the easy part. Both boxes here run 24-bit conversion, and 24-bit at 44.1 or 48 kHz is what you should record at unless you have a specific reason not to.
The two interfaces I keep on the desk
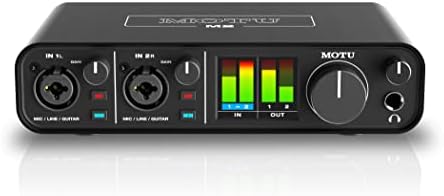
Budget pick: Behringer UMC202HD Audiophile 2x2, 24-Bit/192 kHz USB Audio Interface with Midas Mic Preamplifiers | For Recording Microphones and Instruments
 Visit on Amazon →
This is the box I hand to people who want two inputs and do not want to think about it again. Two combo jacks, Midas-designed preamps, 24-bit conversion, and a metal chassis that has survived more than one drop in my bag. The preamps stay usable at high gain, which is the whole point: a ribbon mic needs a lot of clean gain, and most budget boxes start to hiss before they get there. This one holds together long enough to be useful.
The honest caveat is drivers. On Windows, the Behringer driver situation will test your patience, and I have had settings reset on reboot more than once. Install the current driver from the manufacturer, not the disc in the box, and if you are on a Mac, you can often skip the driver entirely and let the class-compliant path handle it. If you record on a desktop that never moves, none of that matters much.
Flaws but not dealbreakers: the headphone output is fine, not great. It will drive typical studio headphones, but a 250-ohm pair will feel like it is working for a living. And the unit is USB bus powered, so a flaky laptop port can cause dropouts with a phantom-powered condenser attached.
Anyone setting up a permanent two-input home rig, a guitar-and-vocal songwriter, or a podcaster with one guest will be happy here.
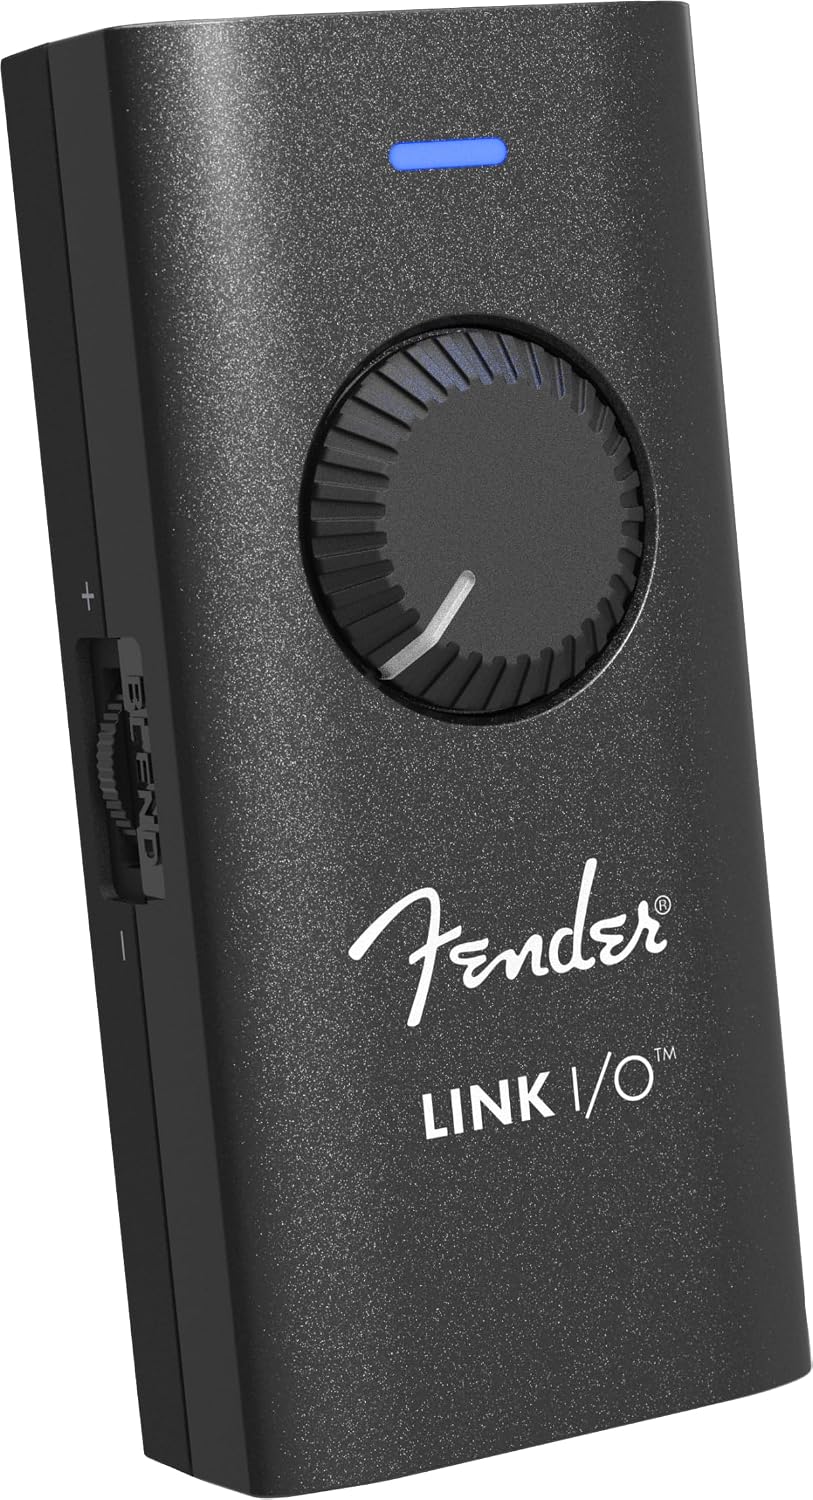
Portable pick: Fender Link I/O Portable USB-C Audio Interface, Fits in Your Pocket, Provides Pristine, Bi-directional Audio over USB connection
 Visit on Amazon →
The Link I/O is the one that lives in my laptop bag. It is a USB-C box about the size of a couple of guitar picks stacked up, and it does exactly one thing well: it moves audio in and out over USB without adding noise. The bi-directional part is the useful bit. You get an input for a mic or an instrument and an output for headphones, so you can track and monitor from the same little dongle.
Where it earns its place is travel and phone or tablet recording. If you are capturing an interview in a hotel room, or writing on a couch with a laptop and a pair of headphones, hauling a two-input desktop interface is silly. This fits in the pocket of a gig bag and needs no power supply.
Flaws but not dealbreakers: this is not a studio box. There is no phantom power, so condensers that need 48 volts are out, and there is one input rather than two, so you cannot track a stereo pair or a two-mic interview on it. Treat it as a clean travel path for a dynamic mic or an instrument, not as the center of a permanent rig.
Anyone who records away from the desk, tracks ideas on the road, or needs a clean USB-C input for a laptop or tablet should carry one.
The setup order that actually works
Nine steps, in this order.
Step one: install the driver before you plug anything in. This is the step people skip, and it is the reason half of all "why does my interface sound weird" posts exist. Download the current driver from the manufacturer, run the installer, reboot, and only then connect the interface with the USB cable. If you plug in first, the operating system grabs the device with a generic driver, and you end up with settings that reset every time you restart.
Step two: set the interface as your input and output at the system level. Not just in your DAW. If your computer is still using the built-in mic for input and the laptop speakers for output, you will record room noise and wonder why. Set both input and output to the interface in your sound settings, then set them again inside your recording software.
Step three: pick your sample rate and buffer, then leave them alone. 24-bit at 44.1 or 48 kHz is right for almost everything. For the buffer, start at 128 samples. If you hear clicks, pops, or dropouts while recording, raise it to 256. A lower buffer means lower latency and more strain on the processor. Higher means the opposite. Once you find a buffer that works, write it down and stop fiddling.
Step four: set gain with the meter, not with your ears. Turn the gain knob down, play or sing the loudest part of the performance, and bring the gain up until the meter is kissing yellow on the peaks. Not red. Not barely moving. If the meter never lights up, your recording will be quiet and noisy. If it hits red, you have already clipped, and no plugin will put that back.
Step five: phantom power only after the mic is connected. Connect the cable first, then flip 48 volts on. Doing it the other way around sends a pop through the system, and some ribbon mics do not appreciate it at all. Turn it off before you unplug, too.
Step six: check the headphone amp with the headphones you actually use. This is the spec nobody reads until it matters. Plug in your real pair, play a loud, dense mix, and listen for crackle at low volume and distortion when you push it. A headphone jack that crackles when you turn the knob is a hardware problem, not a driver problem, and it will not fix itself.
Step seven: measure your round-trip latency before you track. Arm a track with the plugins you plan to use, play a note, and listen. If the delay between your hand and your ears is noticeable, raise the buffer or bypass the heavy plugins while tracking. Under 10 ms is fine, under 5 ms is invisible. Anything that feels like a slapback is too much, no matter what the spec sheet says.
Step eight: build your mix-minus if more than one person is talking. For a two-person podcast, the guest needs to hear you and the music bed, but not themselves, or they will stumble on every word. That routing lives in your software, and it is worth learning once. Podcasts live or die on this.
Step nine: record a two-minute test and listen on something else. Headphones lie. Record a scratch take, then play it back on laptop speakers and in a car. If the vocal sounds thin, your gain was too low. If it sounds brittle and hard, you were too hot. Adjust and go again. Two minutes of testing saves an hour of re-recording.
Where people get it wrong
Three things bite almost everyone.
The first is USB bus power. It works until it does not. A hungry condenser plus phantom power plus a flaky laptop port is a gamble, and the symptom is dropouts that look like a software problem. If your interface has the option for a separate power supply, use it when you record something that matters.
The second is trusting the box copy. "Studio quality" printed on a budget interface means nothing. What matters is whether the preamps stay clean at the gain you need and whether the drivers are stable on your machine.
The third is buying inputs you do not need. You do not need eight inputs to record a podcast. You need two good ones and a mix-minus that works. I say this as someone who has quietly done the same math and bought the bigger box anyway.
The competition and why it lost
If you want a first interface and the two above do not fit, the usual names are still the usual names. The Focusrite Scarlett 2i2 is the safest first box because the drivers are boring, which is the highest compliment I can give a driver. The PreSonus AudioBox is the budget option that refuses to die. The Audient iD14 has the best preamps in its price class, and the Universal Audio Volt is the pick for people who want to plug in and sound polished without learning a plugin chain.
None of them are in this guide because this guide is not about choosing. It is about what you do in the first 20 minutes after the box arrives. The setup order above works the same on all of them.
What this all costs
Nothing here costs money beyond the interface itself. The driver is a free download, the settings are free, and the test take costs you two minutes. What it costs is attention, and that is the part people skip.
The honest math: a two-input interface that stays on the desk plus a pocket USB-C box for travel covers almost every home recording situation, and both of the boxes above sit in the budget bracket rather than the boutique one. You can check the current price on each one above. Spend the difference on a better microphone and a decent pair of headphones, because those change what you hear far more than the converter does.
Do the nine steps once, write your buffer and sample rate on a sticky note, and then stop thinking about the interface. It is a pipe. The music is the part that matters.