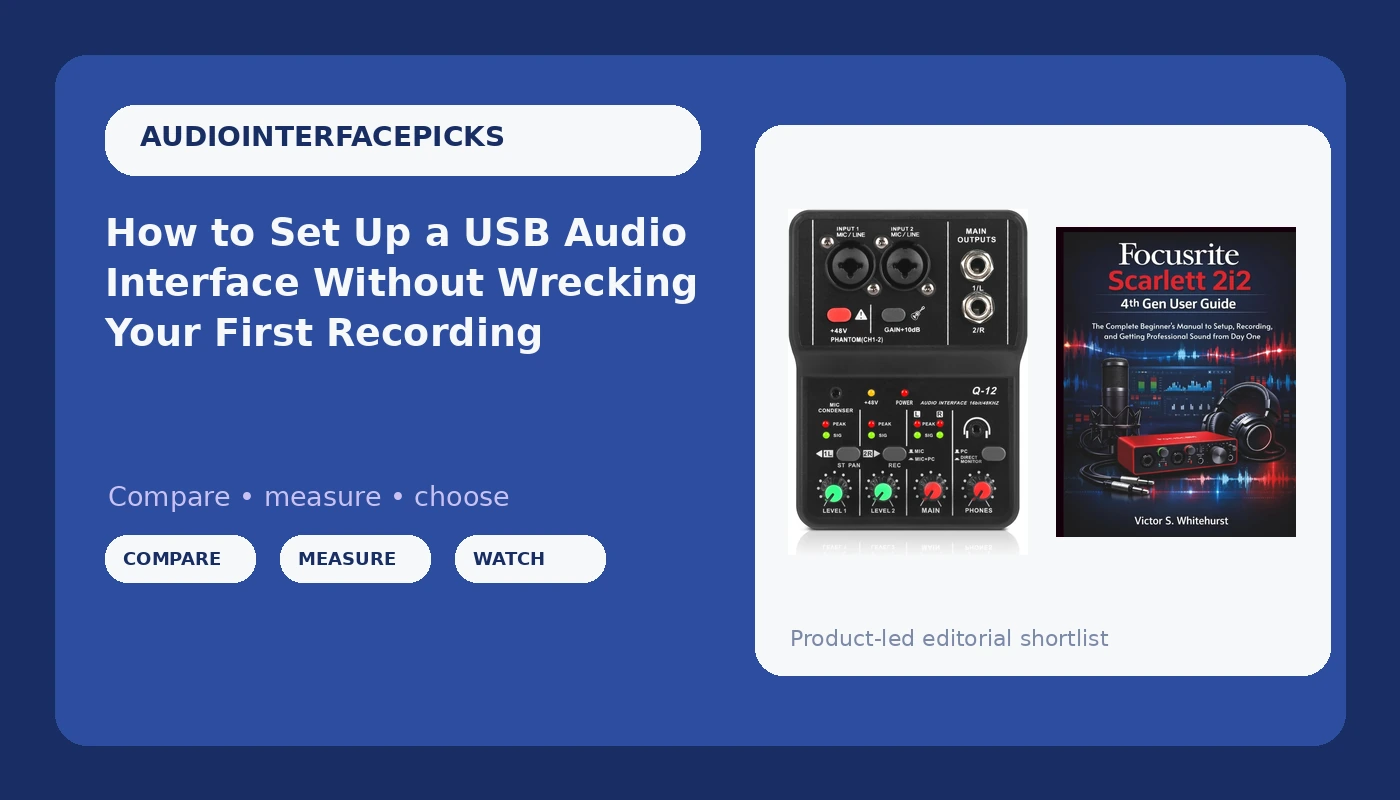
Most people buy a USB audio interface, plug it in, and expect their recordings to sound like the demo clips on the product page. Then they arm a track, hear something thin and noisy, and decide the gear is bad. It usually is not. A USB audio interface setup fails at the boring steps: driver order, buffer size, gain staging, and monitoring. Get those four right and a budget box will out-record an expensive one that was configured by guesswork.
I have been recording in a small home studio in Nashville for about ten years, tracking everything from two-person podcasts to full bands. My first interface cost less than a decent dinner, and I have owned or borrowed nearly every model under $500 since. The routine below is the same one I run on every interface that comes through the room, and it is the difference between a usable take and a wasted afternoon.
This guide walks through the whole process in order: what to put on the desk first, how to install it without breaking your DAW, how to set gain so your meters kiss yellow instead of red, and how to measure latency before you blame the hardware. Two items are worth having before you start, and both are linked below.
Why you should trust me
I record for a living, which means I do not get to be precious about gear. A client session has to work on the first pass, so I test interfaces the way sessions demand: preamp gain staging against a real ribbon mic, latency checks on an older laptop, and a round-trip test with actual plugins loaded. I keep a drawer of failed interfaces with fried headphone jacks as a reminder that specs on a box mean very little.
My bias is simple. The preamp is the interface, and two units with identical spec sheets can sound completely different at gain three o'clock. Latency is about drivers more than chips. A great converter with sloppy drivers is a paperweight. And the headphone amp gets ignored until it clips, at which point it becomes the most important spec on the box.
What I will not do is tell you an interface makes you sound professional. It is maybe ten percent of the result. The other ninety percent is mic placement, the room, and how you set your levels.
How I picked the gear in this guide
This is a how-to article, not a shootout, so the two picks here are not competing. One is the cheapest sensible way to get an XLR microphone into a computer. The other is a written walkthrough for the interface most beginners end up owning.
I judged the budget pick on the things that actually break a first session: whether it runs on USB bus power, whether the input takes a standard XLR microphone, and whether the manufacturer has a driver you can install rather than relying on whatever the operating system assigns. I judged the guide on whether it covers setup in the order a beginner encounters problems, rather than dumping a feature list and calling it instruction.
Two things I deliberately left out. I did not include anything that headlines a bundled recording suite, because at the budget end you are paying for a software license instead of hardware. And I did not include anything that needs a separate power supply just to run phantom power for a condenser mic, because that is one more wall wart to forget on the way to a session.
Start here: the two things worth buying first
You need an input path and you need to know what to do with it. That is the whole list. Everything else, monitors, plugins, a nicer mic, comes later, once you have made a recording you are not embarrassed by.
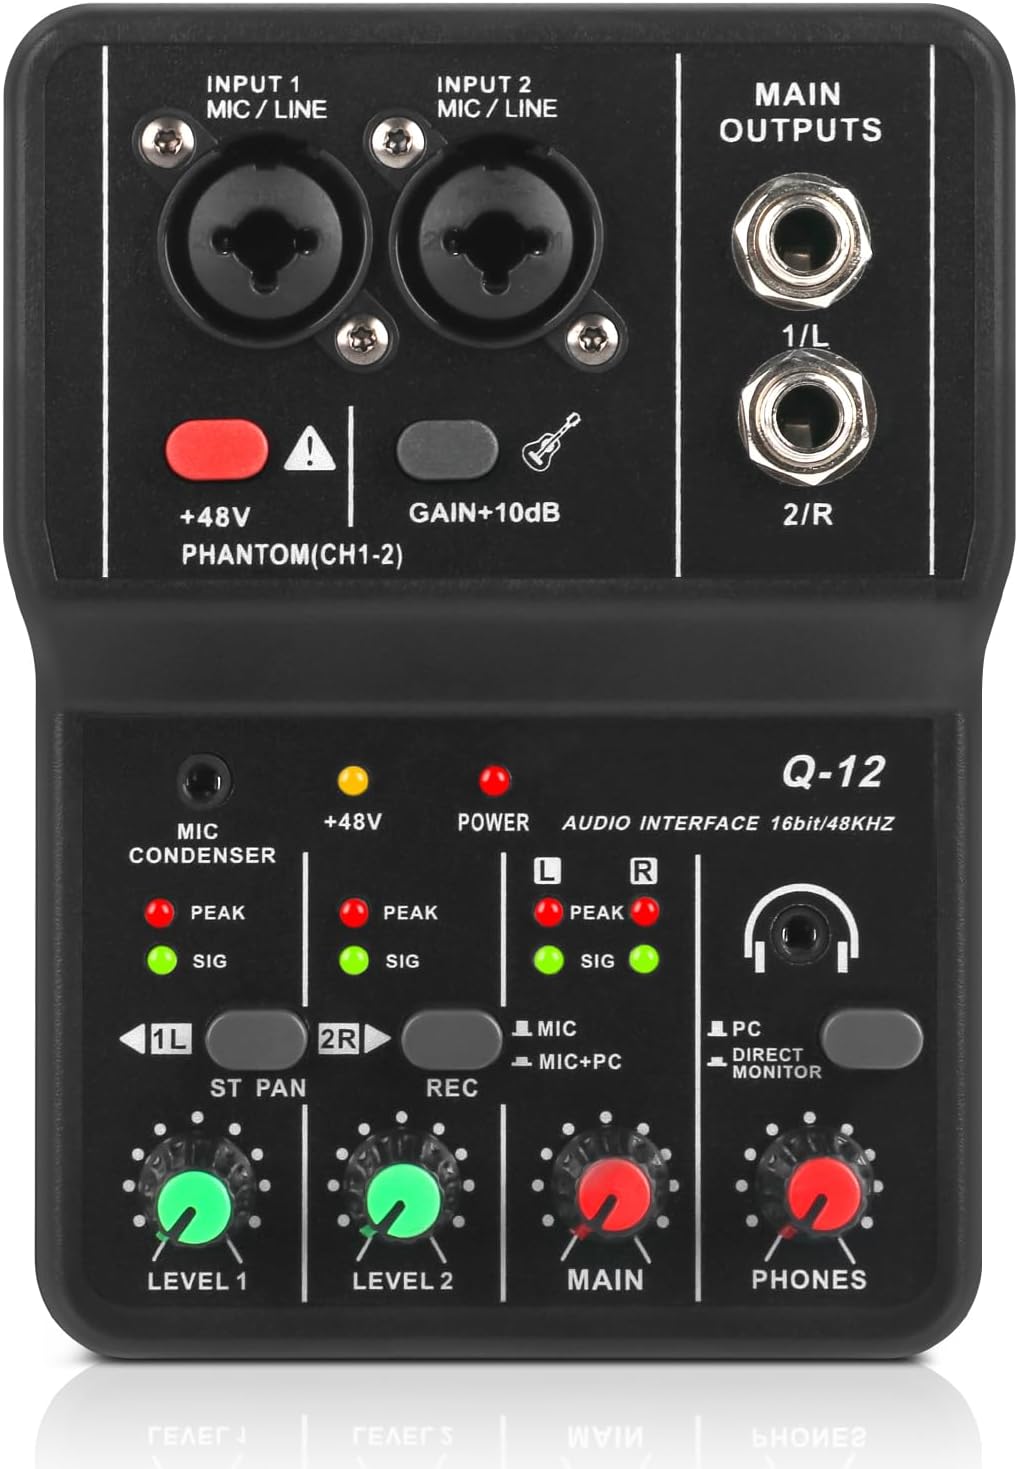
Budget pick: XTUGA USB Audio Interface for PC,Interface for Recording Music Computer Recording Audio Interface XLR with 3.55m Microphone Jack, USB Sound Card for Recording Studio, Ultra-low Latency Plug&Play, Q-12
 Visit on Amazon →
This is the entry point: a USB sound card with an XLR input and a 3.5mm microphone jack, built for plug and play recording on a PC. If your goal is to get a dynamic microphone into a laptop and hear yourself while you track, this class of unit does the job, and it does it without a power supply or a rack.
Here is how to think about a purchase at this level. The XLR input is the part that matters, because it lets you use a real microphone instead of a headset mic. The 3.5mm jack is a convenience for a lav or a cheap desktop mic, not a substitute for a proper XLR signal path. Plug and play is genuinely useful on a laptop, but it also means the unit leans on generic drivers, so install whatever the manufacturer provides before you connect it, and expect to set your buffer size manually in your DAW rather than trusting a default.
The caveats are the ones that apply to every interface in this price band. Check the phantom power situation before you buy a condenser mic, because not every bus powered unit delivers 48 volts reliably from a flaky laptop port. Do not expect the headphone output to drive 250 ohm studio cans to a comfortable level. And treat the low latency claim as a starting point, not a promise, since round-trip latency depends on your computer and your buffer setting as much as the hardware.
Flaws but not dealbreakers: The build is light, and the controls are small. If you plan to move this between rooms every week, treat it gently. On a desk in one room, it is fine.
Anyone recording a podcast, a voiceover, or a first demo on a laptop who wants the smallest possible spend to get started should look here first.
Companion pick: Focusrite Scarlett 2i2 4th Gen User Guide: The Complete Beginner's Manual to Setup, Recording, and Getting Professional Sound from Day One
 Visit on Amazon →
A book is an odd thing to recommend in a gear guide, so let me explain why it earns a spot. The Scarlett 2i2 is the interface most beginners end up with, and the questions I get about it are never about the hardware. They are about gain staging, direct monitoring, and why the headphones and the speakers do not play the same thing. A manual that walks through setup, recording, and getting a usable sound in order is worth more than another cable.
Treat this as the written version of the setup routine below, specific to that interface. If you already own a 2i2 and you are guessing your way through the front panel, this closes the gap between owning the box and using it. It is also a reasonable purchase if you are deciding between interfaces and want to understand what the workflow actually involves before you spend.
Flaws but not dealbreakers: It is a guide for one specific interface. If you own something else, the general chapters will still help, but the screenshots and panel references will not match your hardware.
Anyone who just unboxed a Scarlett 2i2 and wants to skip three weeks of forum posts should grab this alongside it.
The actual setup workflow
Now the part you came for. This works on any USB interface, from the budget pick above to a four-input box.
Step one: install the driver before you plug anything in. This is the step people skip, and it is the one that causes the most damage. If you connect the interface first, the operating system grabs it with a generic driver, and you spend the rest of the week wondering why your round-trip latency is 40 milliseconds. Download the manufacturer driver, run the installer, reboot, then connect the interface.
Step two: set the sample rate and buffer. Pick 44.1 or 48 kHz and stay there. Changing sample rates mid-project causes more sync errors than any other setting. For the buffer, start at 128 samples. If you hear clicks and pops, raise it to 256. If you need lower latency for tracking, drop to 64 and see if your computer holds up. Higher buffer means more stability and more delay. Lower buffer means less delay and more strain on the processor.
Step three: set your gain before you record anything. Arm the track, put on headphones, and have the performer do the loudest thing they will do in the take. Raise the input gain until the meter hits yellow on the loudest peak, then back off a hair. Aim for peaks around minus 12 to minus 6 dBFS. Recording quiet and fixing it later is how you end up amplifying the noise floor of the room along with the voice.
Step four: pick your monitoring path. Direct monitoring means you hear the input straight from the interface with no computer delay, but you cannot hear plugins. Software monitoring means you hear everything through the DAW, including processing, but you pay for it in latency. For tracking vocals, direct monitoring plus a little reverb from the DAW is the usual compromise. For mixing, software monitoring all the way.
Step five: handle phantom power with care. If you are running a condenser mic, engage 48 volts, and mute the channel or turn down the monitors before you do. If you are running a dynamic mic or a ribbon, leave it off. Never plug or unplug a microphone with phantom power engaged. That pop is not just annoying, it can damage a ribbon.
Step six: set your headphone level at the interface, not in the DAW. Keep the DAW output at unity and control your listening volume on the hardware knob. That way you never accidentally bounce a mix through a fader you forgot you moved. If your headphones sound thin and closed in at a comfortable volume, that is the headphone amp running out of current, and it is the most common weak point on budget units.
Step seven: measure your round-trip latency. Do not trust a spec sheet. Load a plugin or two on the track, arm it, and play or speak into the mic while listening. If the delay is distracting, you are probably above 10 milliseconds. Under 10 ms is usable. Under 5 ms feels invisible. If you cannot get there, lower the buffer, close background applications, and check that you are on the manufacturer driver rather than a generic one.
Step eight: save the session as a template. Once everything works, save it as a template with your inputs labeled, your buffer set, and your monitoring configured. This is the single biggest time saver in home recording. You will never rebuild the routing again.
Problems that show up in the first hour
The meters move but there is no sound in the headphones. Check that direct monitoring is actually on, and check that the interface is selected as the output device in both the DAW and the operating system. Two different output selections is the most common cause.
Crackling at low headphone volume. That is a dirty or cheap volume pot, and it is a known annoyance on budget hardware. Work the knob through its full range a few times. If it persists, the headphone jack is the failure point, and it is usually the first thing to go.
Settings reset after a reboot. Some drivers do not remember your buffer or sample rate. If yours does not, get in the habit of checking the control panel before every session, or set up your template so the DAW forces the settings on load.
Noise that sounds like a fan or a hard drive. That is usually a ground loop or a USB port sharing power with something else. Try a different port, avoid unpowered hubs, and keep the interface off the same circuit as a laptop charger if you can.
What this all costs
The budget interface and the written guide together come in under the cost of one decent dynamic microphone. Check current Amazon price on both before you commit, because these listings move around. Over a couple of years of weekly recording, the daily cost of either one rounds down to almost nothing, which is the right way to think about entry level gear.
What you should not do is spend the difference on a bundled software suite you will never open. Put it toward a microphone stand, a decent XLR cable, and a pop filter. Those three things will improve your recordings more than any upgrade path you can buy in the first month.
The setup itself is free. The hour you spend installing drivers properly, setting gain by ear against a real performance, and measuring your own round-trip latency is the hour that separates a recording that sounds like you from one that sounds like a bad phone call.
That is the job. Your interface was built to do this. Let it.