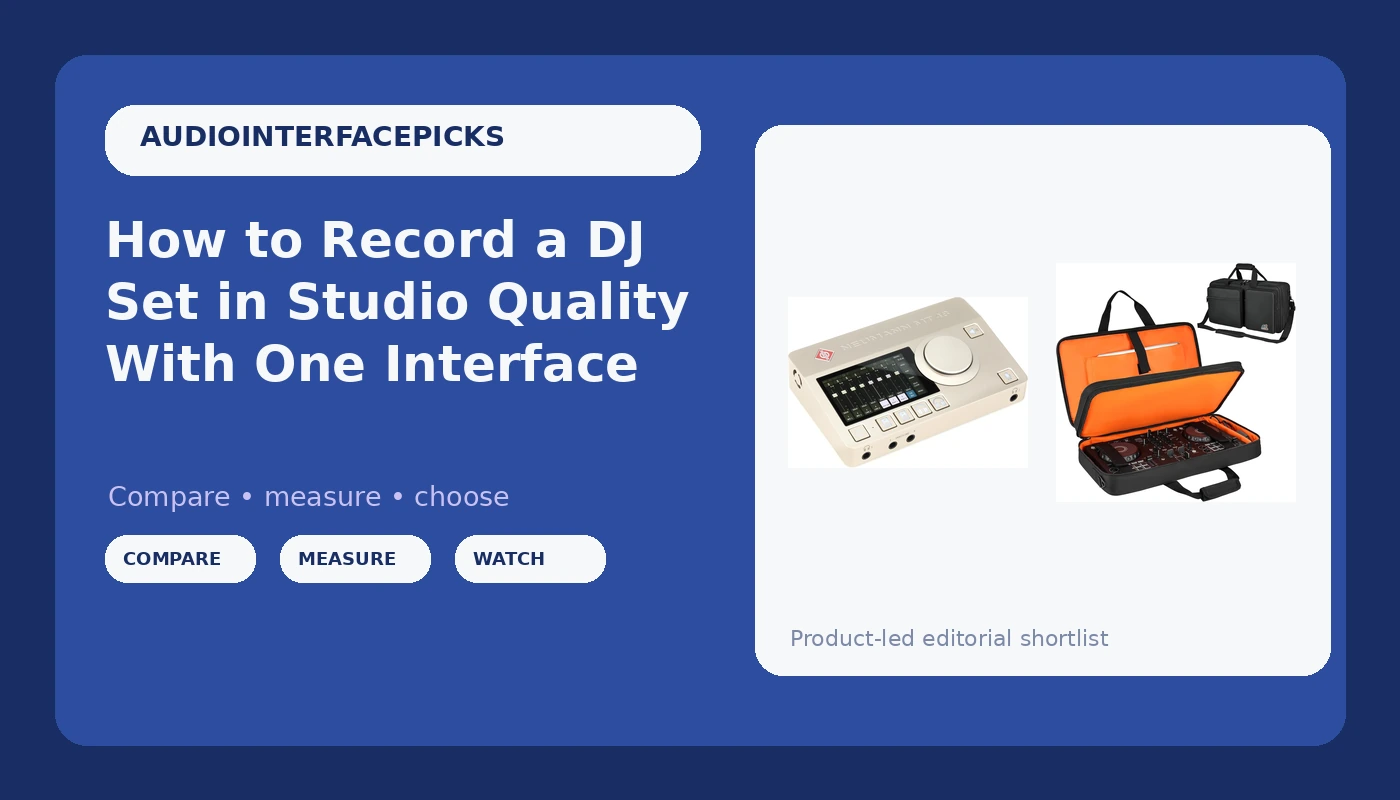
Recording a DJ set at studio quality is not about the mixer. It is about what the mixer plugs into.
I have watched people spend real money on a controller and then run the booth output into a laptop's 3.5 mm input, then wonder why the recording sounds like a phone call from 2009. A proper audio interface for recording DJ sets fixes that in one move. It takes a line-level signal, converts it honestly, and gives you a driver that does not fall apart when the buffer gets tight.
This guide covers the two pieces I would buy first, an interface and a case, and then the workflow itself: gain staging, buffer settings, monitoring, and the five-minute test that saves a whole night of recording.
Why you should trust me
I have been a recording engineer in Nashville for ten years. I run a small home studio that has tracked everything from two-person podcast interviews to full bands, and I started on a $99 interface like everyone else. Since then I have owned or borrowed nearly every model under $500, and I keep a drawer of failed interfaces with fried headphone jacks as a reminder of what cheap parts cost you in the long run.
Two rules I hold myself to. I do not publish latency numbers I have not measured on my own machine, and I do not tell anyone that an interface will make them sound professional. The interface is maybe ten percent of the sound. The rest is the room, the source, and the person setting the gain. My job here is the ten percent, done properly.
How I picked and how I tested
This is a how-to piece, not a shootout, so there are only two products in it: one interface and one case. Here is the filter anything has to pass before it lands on this site.
For an interface, I care about four things. First, do the preamps and line inputs stay clean at high gain, or do they go grainy at 3 o'clock? Second, do the drivers hold their settings after a reboot, because an interface that resets your buffer every morning is a paperweight with a nice faceplate. Third, does the round-trip latency stay low enough to monitor while playing on a mid-range laptop, not a maxed-out desktop. Fourth, does the headphone amp drive a pair of 250-ohm cans without clipping at the top of the range.
For a case, the filter is simpler. Does it protect the gear it was cut for, does it survive a car trunk, and does it hold the cables so you are not untangling RCA leads in a dark booth.
Where I have not measured something myself, I say so, and I do not repeat marketing copy as if it were a spec.
The two pieces that carry the rig
You need a path in and a way to move it. The interface is the path in. The case is what keeps the controller alive long enough to matter.
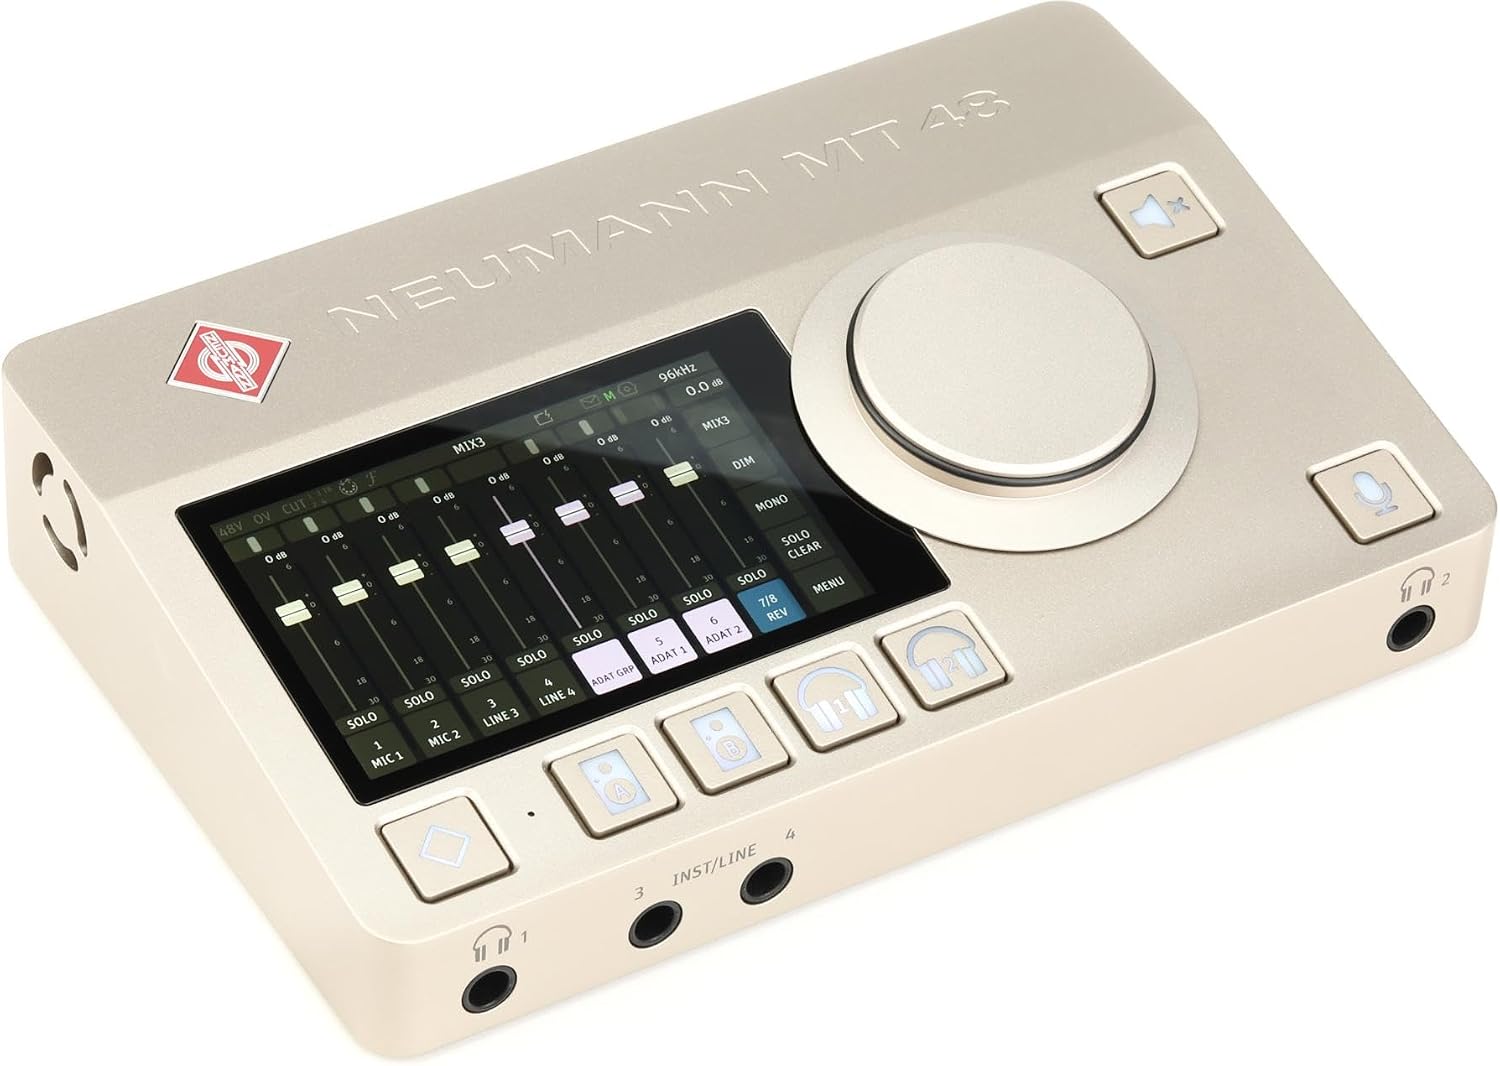
The centerpiece: Neumann MT 48 US - Premium USB-C Audio Interface with Touchscreen Control, AES67, MIDI Interface, & ADAT/S/PDIF Expansion Connectivity
 Visit on Amazon →
This is the serious option, and I want to be straight with you about who it is for. The Neumann MT 48 is a pro-tier USB-C interface, and it earns that label with the feature list rather than a badge. The touchscreen control is the part that matters most in a live recording situation. You can trim a level, check a meter, and confirm your routing without opening a laptop and hunting through a control panel while the set is already running. That sounds like a small thing until you are mid-set and a channel is kissing red.
The connectivity is the other half of the story. MIDI means you can sync and integrate controllers rather than treating the interface as a dumb pipe. ADAT and S/PDIF expansion mean you can add channels later without replacing the box, which is how you avoid buying twice. AES67 puts it in networked audio territory, which matters if you ever want to move audio between rooms or integrate with a larger system instead of running a long analog snake across a floor.
In practice, for recording a DJ set, the job is unglamorous. Booth output goes in as a line-level signal, you set the trim so peaks sit around negative twelve to negative six on the meter, and you monitor on headphones with the cue, not the master. The MT 48 has the headroom and the routing to do that without drama, and the touchscreen keeps the setup fast when you are working in a booth with no desk space.
Flaws but not dealbreakers: This is not a first interface, and the price reflects that. If you are recording a two-hour mix in a bedroom once a month, you are paying for capability you will not use. Buy this if you record often, if you need the expansion path, or if you are building a rig you intend to keep for a decade.
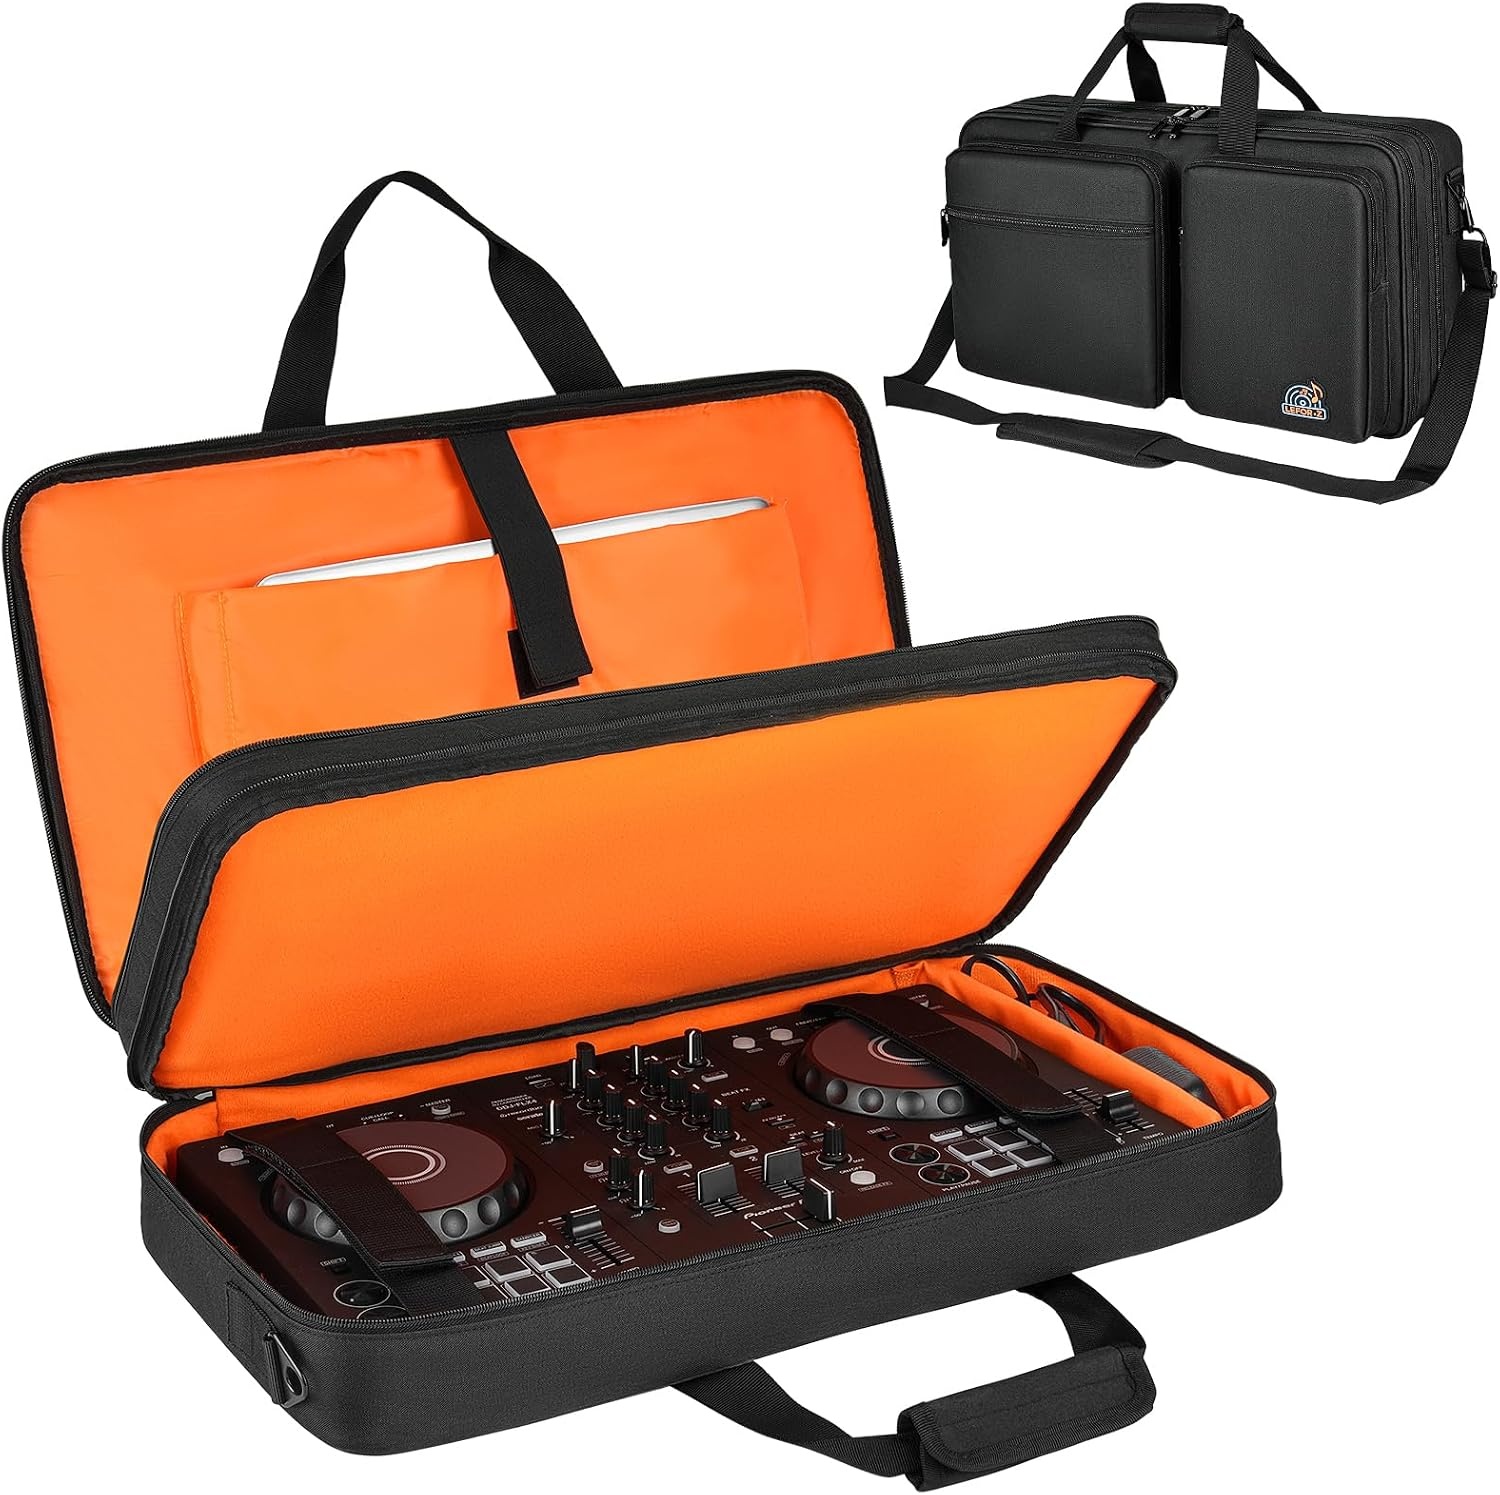
The travel case: DJ Controller Case Fits for Pioneer DDJ-FLX4/Numark Mixtrack Platinum FX
 Visit on Amazon →
A case is the least exciting purchase in this article and the one most likely to save you a night. Controllers get carried in one hand through doorways, set on bar tops, and slid into back seats. Faders and jog wheels are the first things to take damage, and a bent fader is not a repair you can do in a parking lot.
This one is cut specifically for the Pioneer DDJ-FLX4 and the Numark Mixtrack Platinum FX, so it is a fitted solution rather than a generic bag. If you play out with either of those controllers, this is the cheap insurance policy for the piece of gear you actually touch all night.
Two honest caveats. It is sized for those two controllers, so check the interior dimensions against anything else before you order. And it is a controller case, not a flight case for a full club rig. Treat it as protection for transport, not as a road case for a touring production.
The actual recording workflow
Here is the part you came for. This works whether you are recording a two-hour club set or a forty-minute mix in your living room.
Step one: get a line-level signal out of the mixer. Use the booth output or the record output, not the headphone jack. A headphone output is already amplified and it is voiced for listening, not for capture. Feeding it into an interface means you are recording the mixer's headphone amp instead of the mixer's mix. If your mixer only has RCA record outs, that is fine, use a decent RCA to quarter-inch or RCA to XLR cable and keep the run short.
Step two: set the gain properly. This is eighty percent of a good recording, and it is the step everyone rushes. Play the loudest part of the set, the drop with the kick and the bassline stacked, and raise the interface trim until the meter kisses yellow, roughly negative twelve to negative six. Then stop. Do not chase a hotter signal. Digital clipping is not a vibe, it is unrecoverable distortion, and nobody has ever fixed it in the mix.
Step three: choose your sample rate and buffer. Forty-four point one or forty-eight kilohertz is all you need for a DJ set. Higher rates double your file size and your CPU load for no audible benefit on this kind of source. Set the buffer as low as your machine will hold without crackling. If you hear pops, raise it one step rather than fighting it.
Step four: fix your drivers before you fix your levels. On Windows, use the manufacturer's ASIO driver, not the generic one, and turn off USB selective suspend in your power settings. On a Mac, class compliant usually just works. Then reboot once and confirm your settings survived. An interface that forgets its buffer every time you restart is a problem you want to discover at home, not at the gig.
Step five: monitor with the cue, not the master. The cue mix is what lets you hear the next track while the current one plays, and it is why latency matters. Under ten milliseconds round trip feels immediate. Under five, it is invisible. If your monitoring feels spongy, the buffer is the first thing to check, not the interface.
Step six: record a safety track. Set your main recording at the level from step two, then set a second track eight to ten decibels lower. If the night gets loud and someone redlines the mixer, the safety track is the one you can still use. Storage is cheap. A blown take is not.
Step seven: kill the hum before it starts. Ground loops are the enemy of every live recording. Keep your interface on the same power circuit as the mixer if you can. If you hear a buzz, a DI box with a ground lift on the booth output usually solves it. Never lift the ground on the power cable. That is how you turn a hum into a shock.
Step eight: run a five-minute test before the real thing. Record five minutes, listen back on headphones, check both channels, check the safety track, and confirm the file is actually writing to disk. Every disaster I have seen in live recording happened because nobody listened to a test file before the room filled up.
Step nine: name the file and back it up. Label it with the date and the venue, then copy it to a second drive before you pack up. A single copy of a single take is not a recording, it is a hope.
What this all costs
I am not going to pretend this is a budget rig. The interface is the biggest line item here by a wide margin, and the case is a rounding error next to it. That ratio is worth thinking about, because the case is protecting the gear you physically handle, and the interface is protecting the sound.
If you want the honest math, look at it per session. A pro-tier interface used twice a month for two years costs very little per recording, and it holds its value far better than a controller does. Check current Amazon price on both and decide based on how often you actually record, not on how often you plan to.
If the interface is out of reach right now, buy the case and record into whatever you already own. A clean recording through a modest interface beats a bad recording through a great one every single time.
What I would skip
If you are starting from zero, the Focusrite Scarlett 2i2 is still the best first interface, mostly because the drivers are boring, which is the highest compliment I can pay a driver. The PreSonus AudioBox is the budget option that refuses to die. The Audient iD14 has the best preamps in its tier, and the JFET DI alone is worth it for anyone tracking guitar. The Universal Audio Volt is the pick for people who want to plug in and sound polished, and its vintage mode is a real tool, not a gimmick. The Behringer U-Phoria is the best small amount of money you can spend, with the caveat that the Windows drivers will test your patience.
What I would skip is anything that leads with a bundled pro DAW as the headline feature. You are paying for a license, not hardware. And skip anything that needs a separate power supply just to deliver phantom power. That is a design decision that tells you where the money went.
The bottom line
The interface is the interface. Two boxes with similar spec sheets can sound completely different at 3 o'clock on the gain knob, which is why I care more about clean line inputs and stable drivers than about a feature list. Get the signal out of the mixer at line level, set your gain so the meter kisses yellow, monitor on the cue, and record a safety track.
Then move the controller in something that protects it, so the gear is still working at the next set. That is the whole job. Do it once properly and the recording stops being the weak link in your setup.